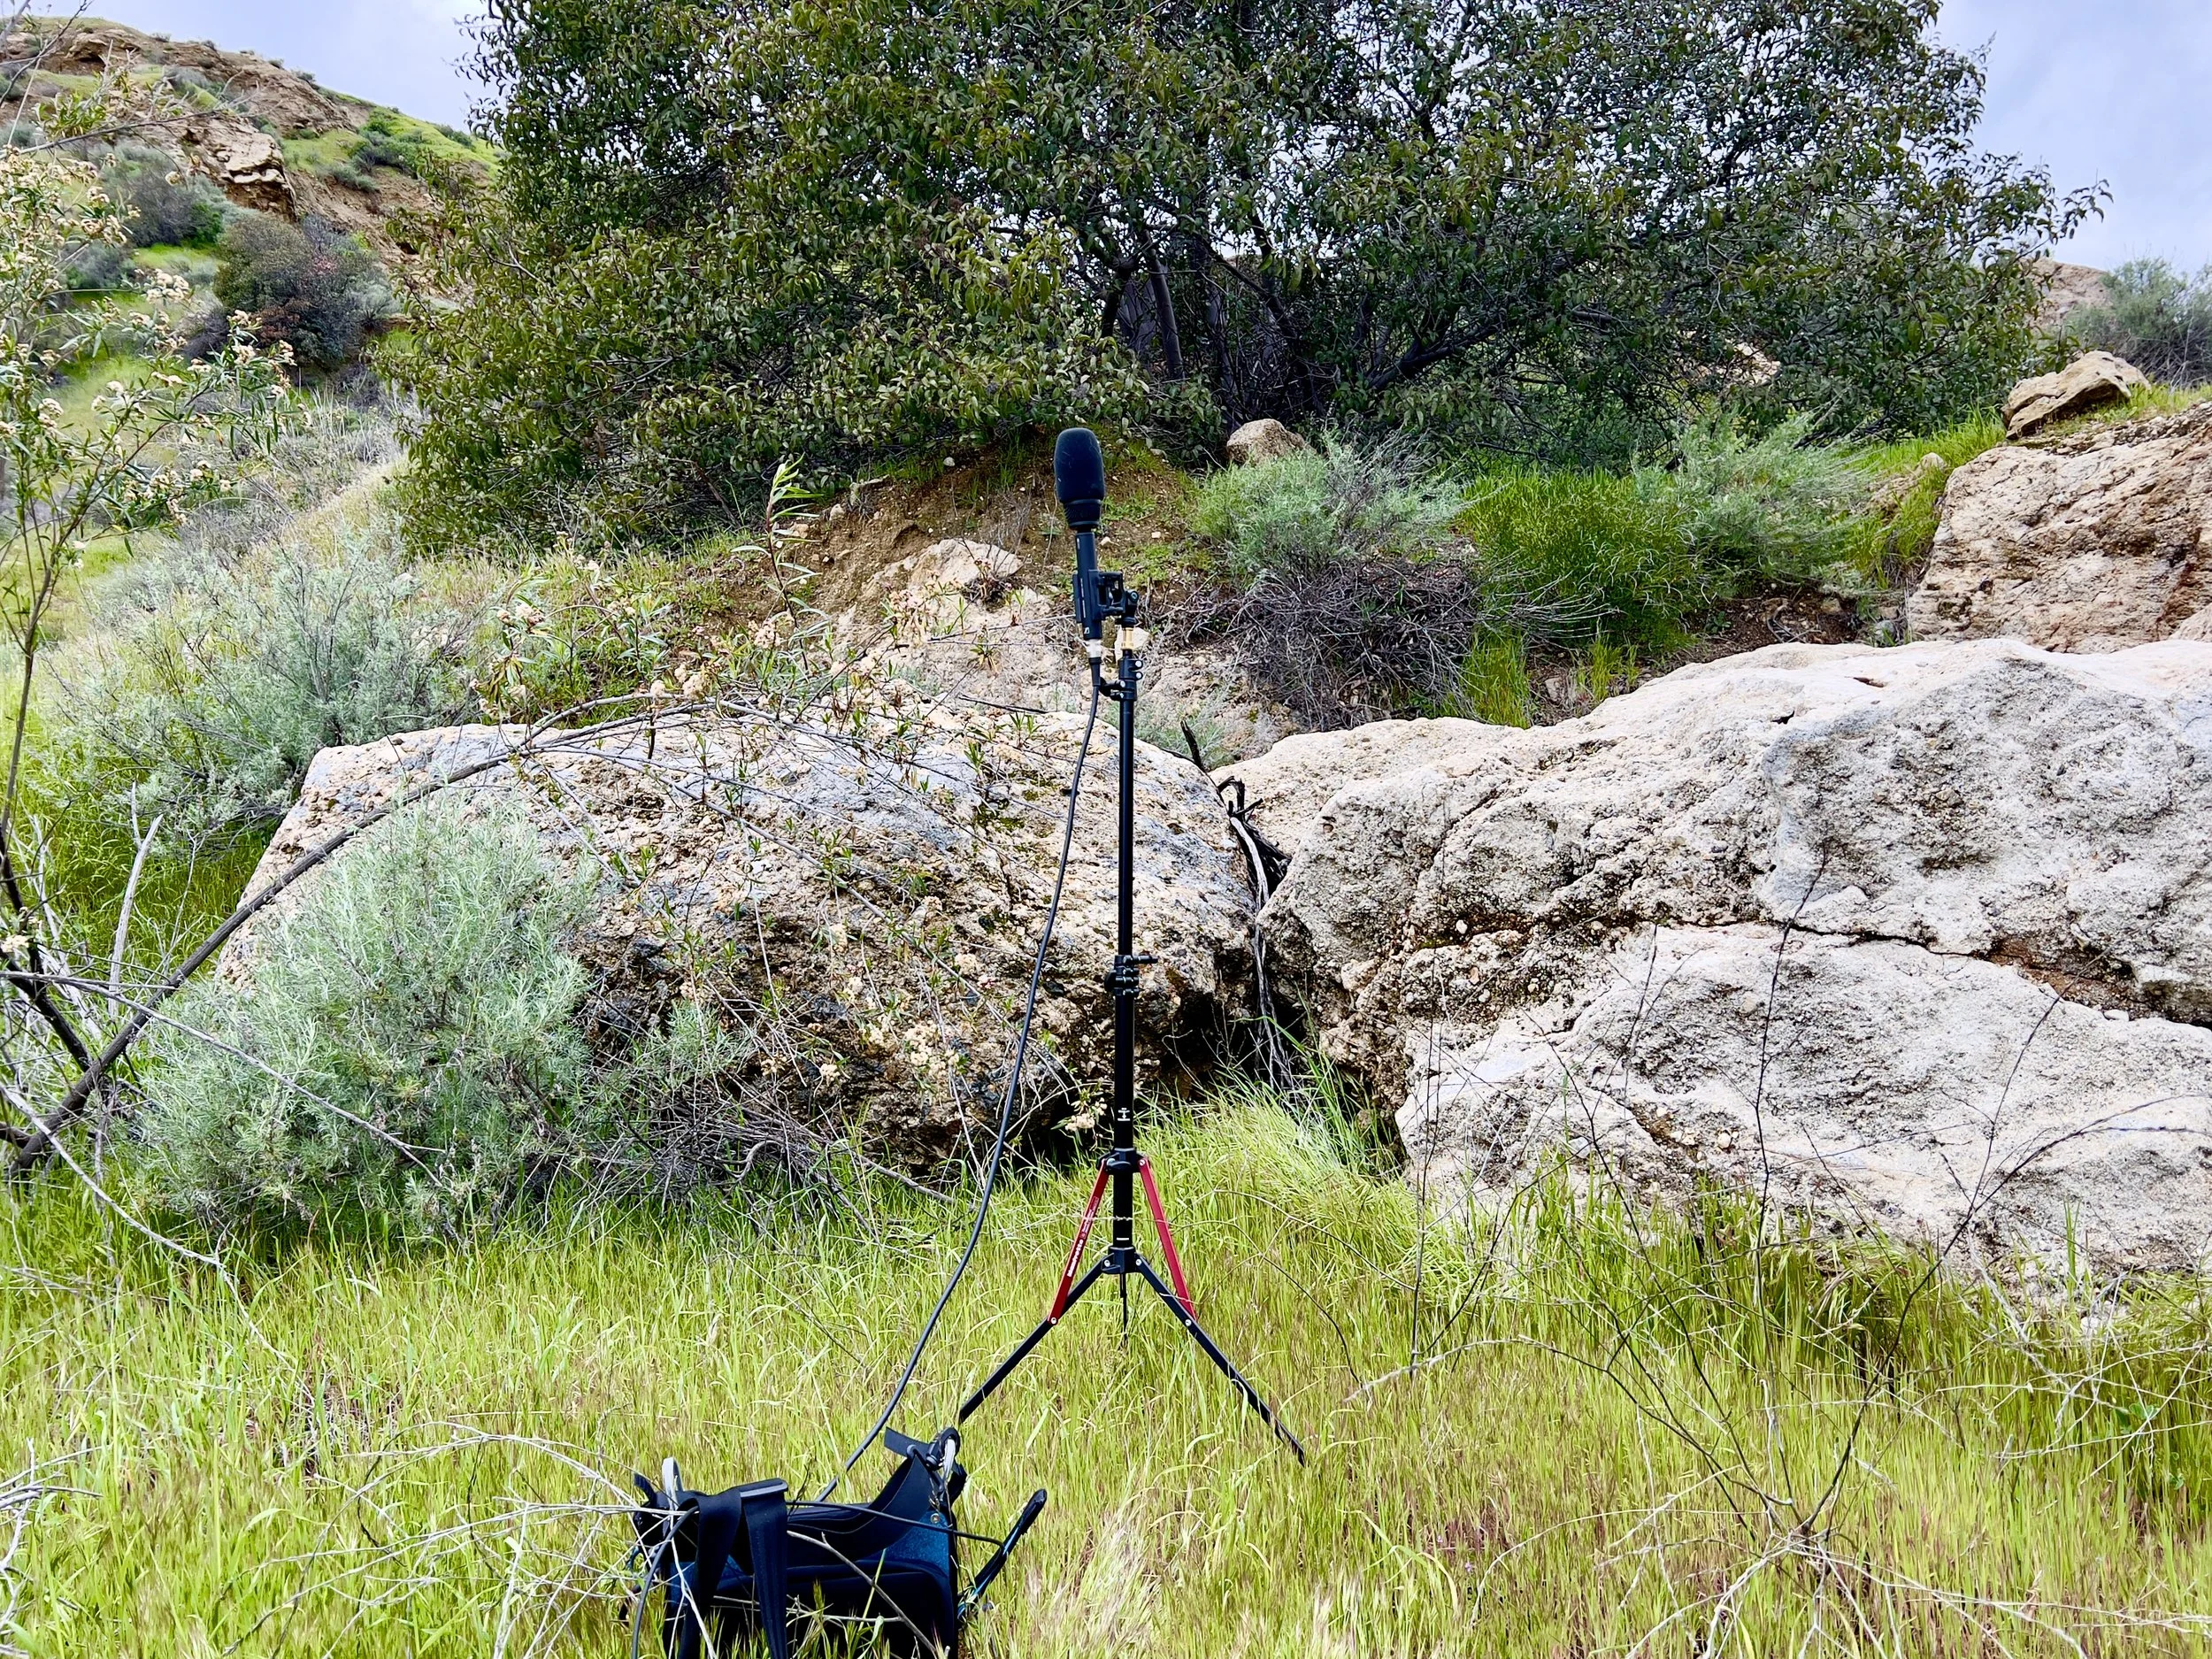
Field Recording: First Order Ambisonics
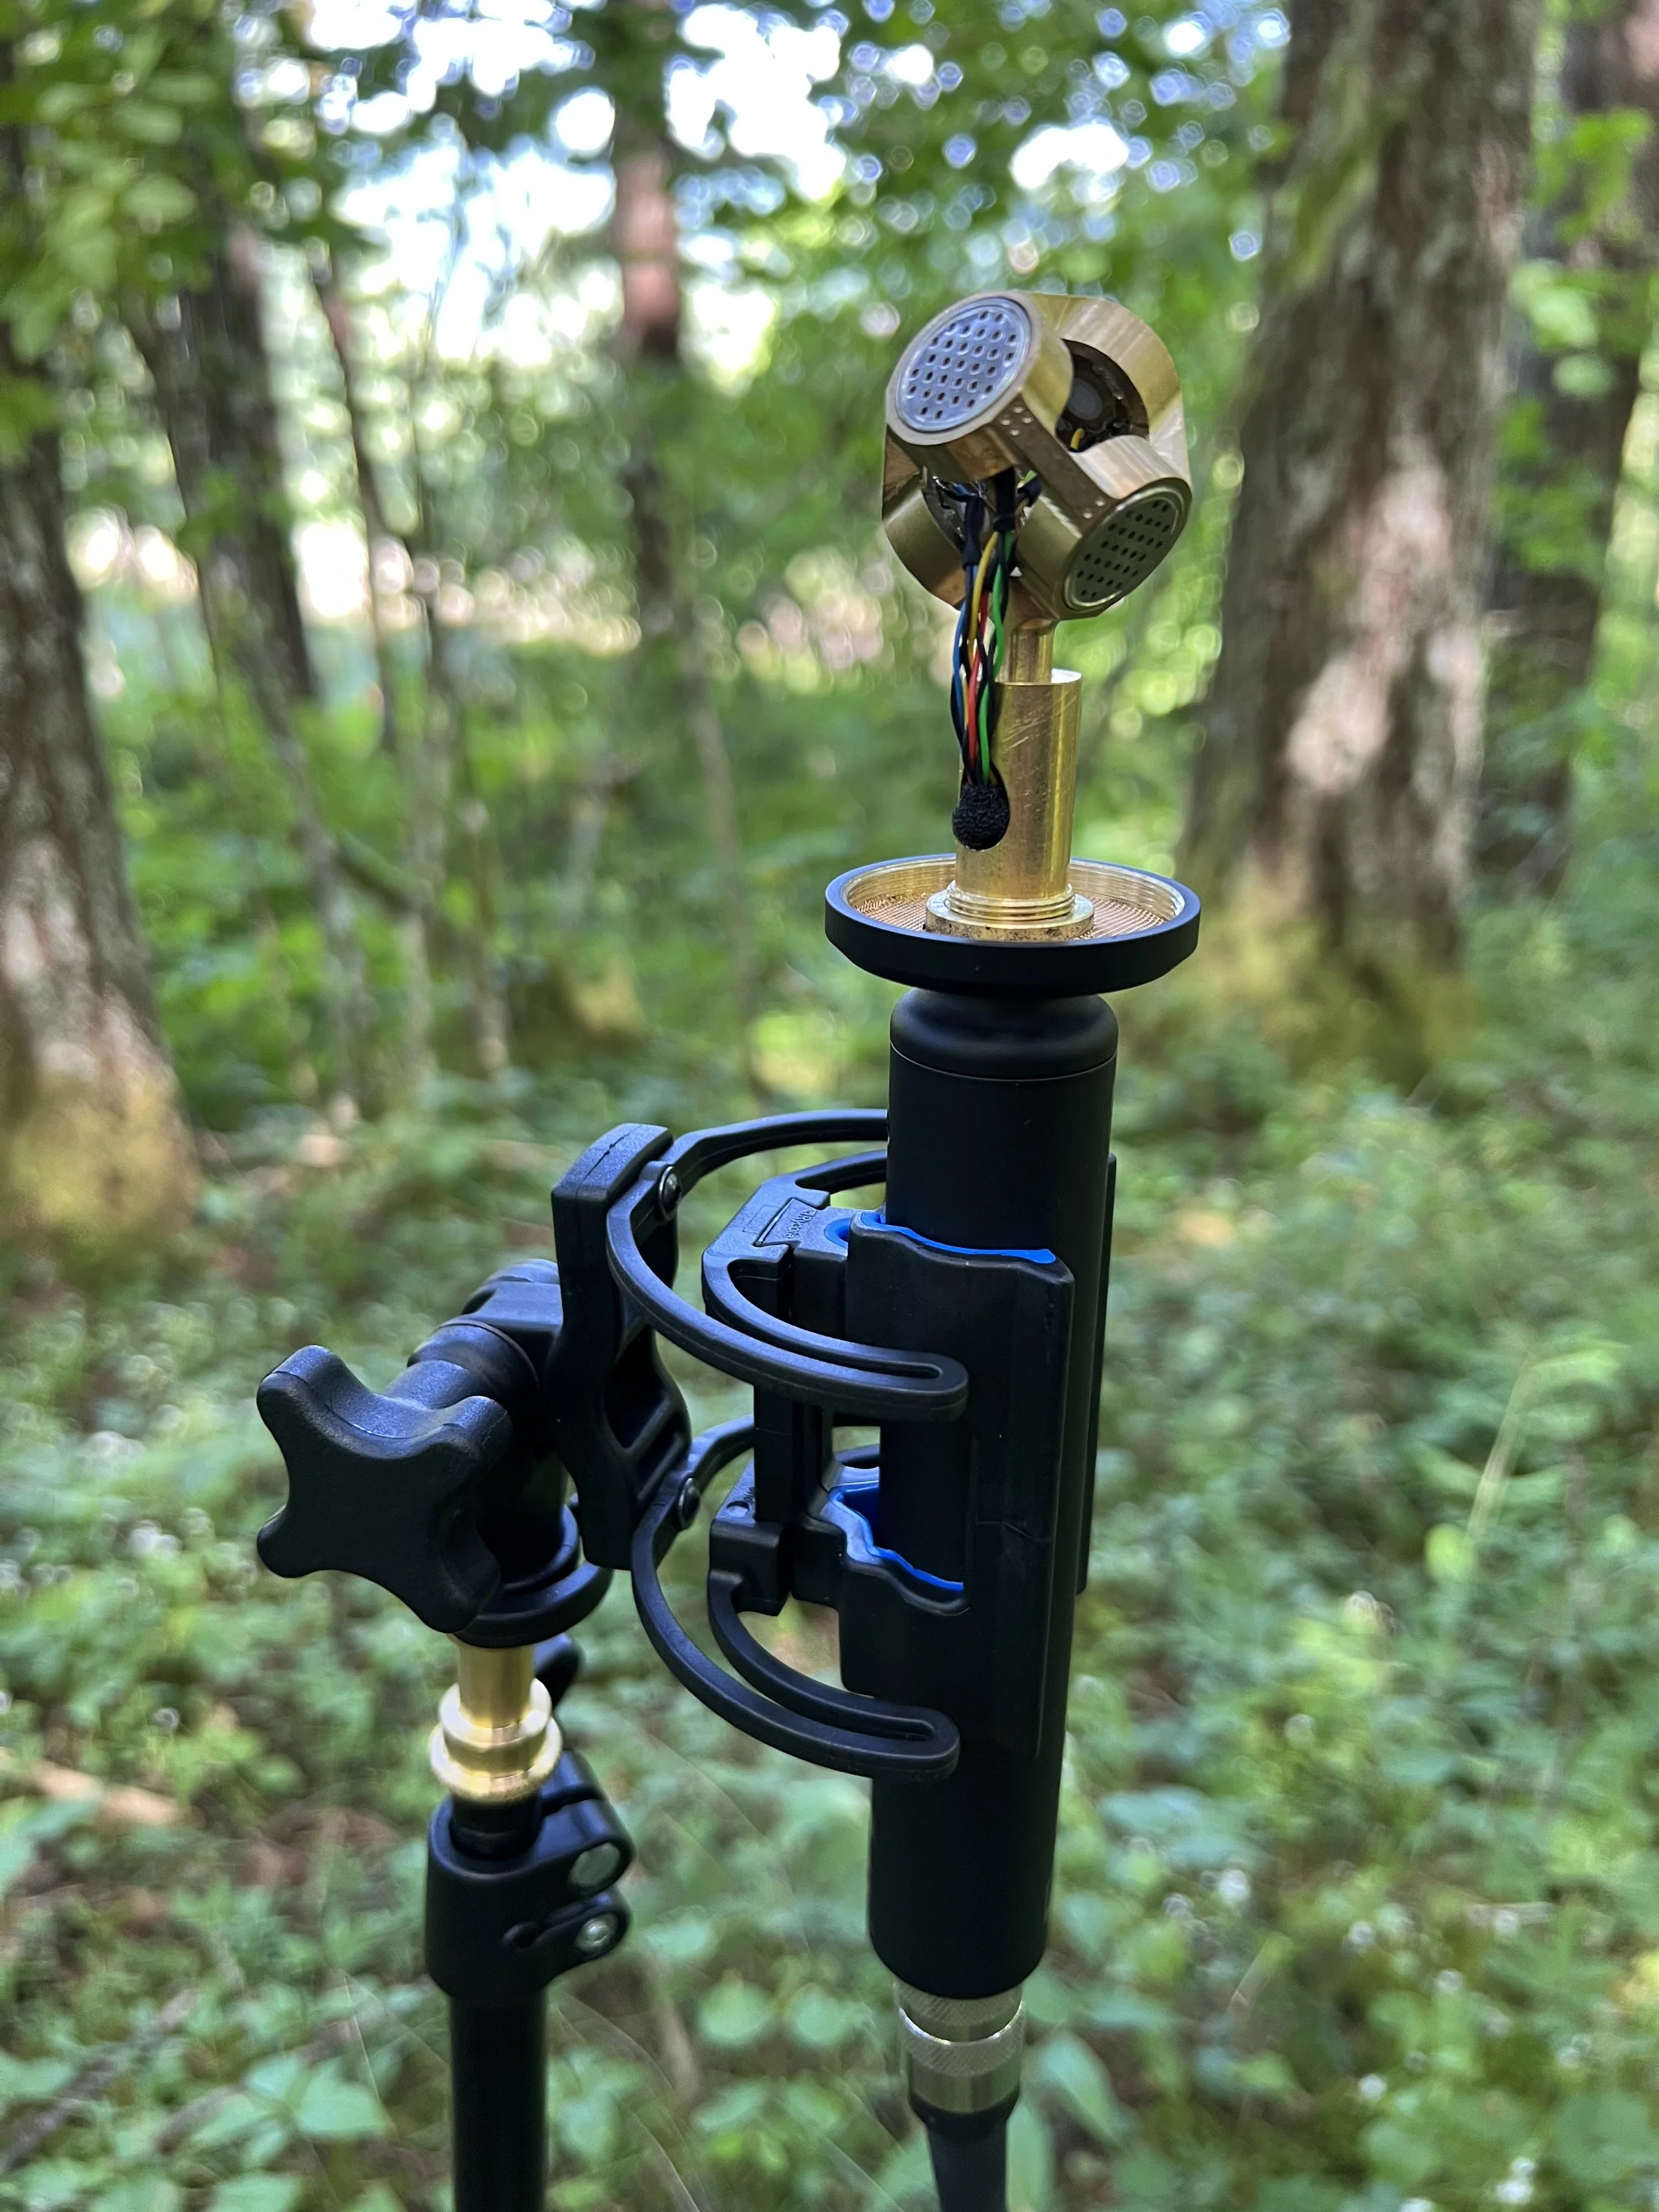
We recently finished recording, producing and mixing a series of 180 and 360 degree videos for a client and we are excited to share a basic tutorial and some insights in working with ambisonics for both games and linear media. Shoutout to Roy Berardo for nudging us down this rabbit hole. Early in our days working together our team invested in field recording gear, including the Sennheiser AMBEO VR mic, which I highly recommend. At this time, other options include the Zoom H3-VR and the Voyage Audio Spatial Mic.
BASICS OF FOA AMBISONIC FORMAT
Here we will be discussing AmbiX B-format, also known as first-order Ambisonics (FOA) B-format. The four channels work together using the following patterns to produce a 360 degree immersive audio image including left-right, up-down, front-back and omni-directional.
W: omni-directional polar pattern:
360 degrees containing all sounds in the sphere, coming from all directions at equal gain and phase.
Y: figure-8 bi-directional polar pattern:
pointing to left (negative right)
Z: figure-8 bi-directional polar pattern:
pointing up (negative down)
X: figure-8 bi-directional polar pattern:
pointing forward (negative back)
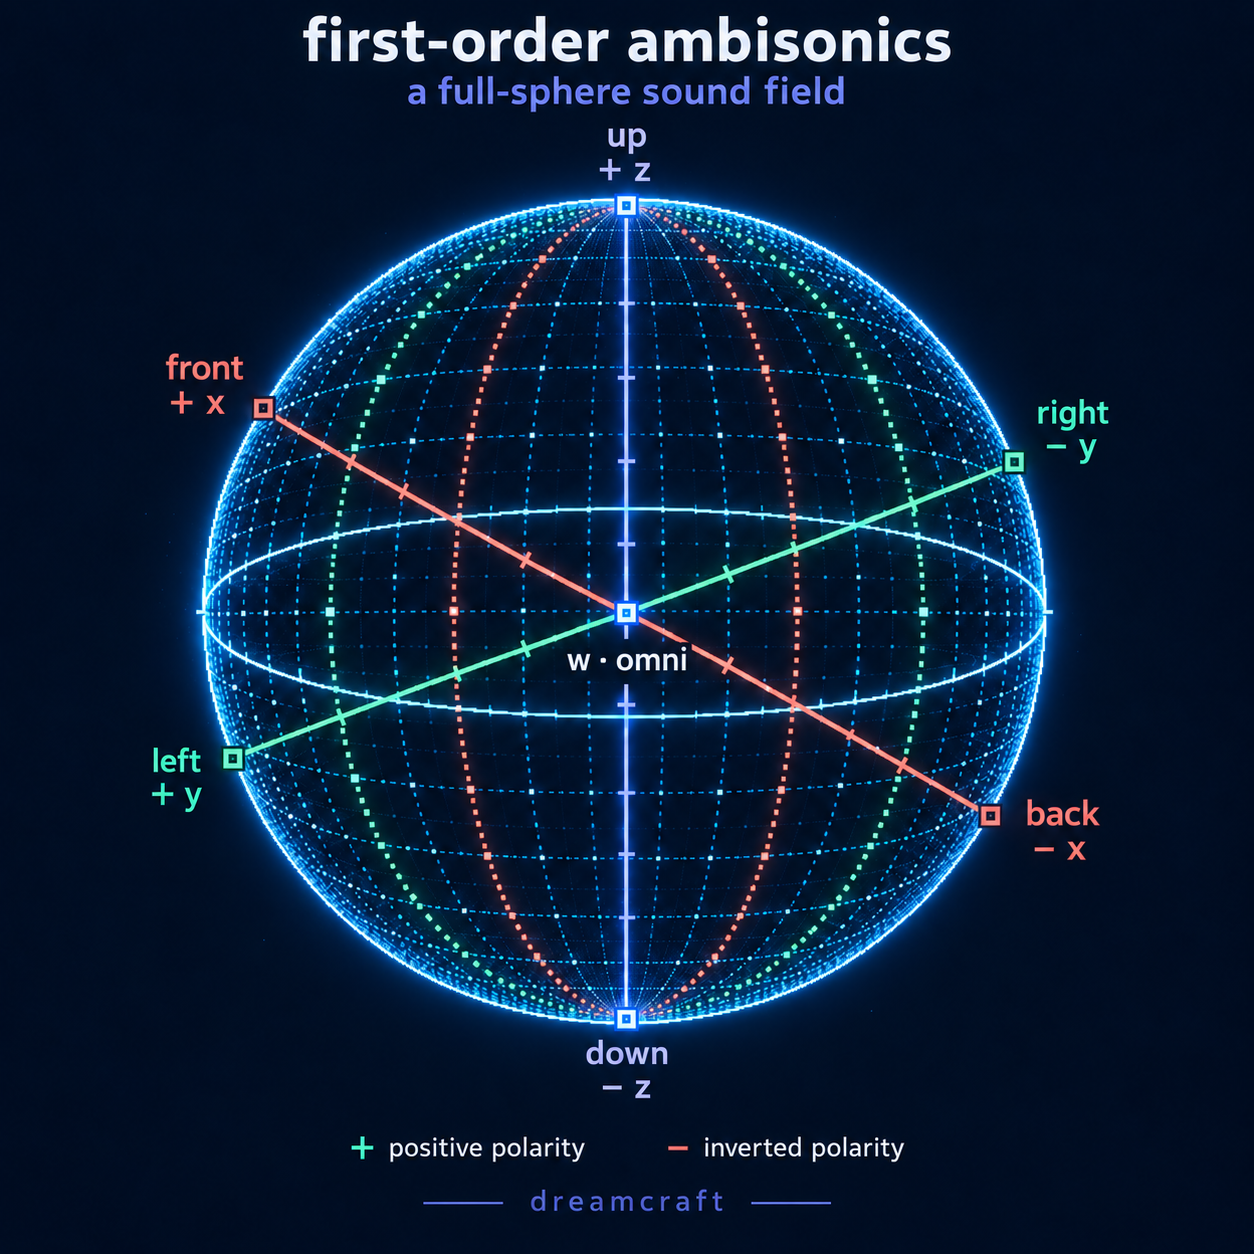
This format encodes the full sound scene's spatial information and is used for its ability to be decoded to various speaker setups or headphones without needing to re-mix the original recording.
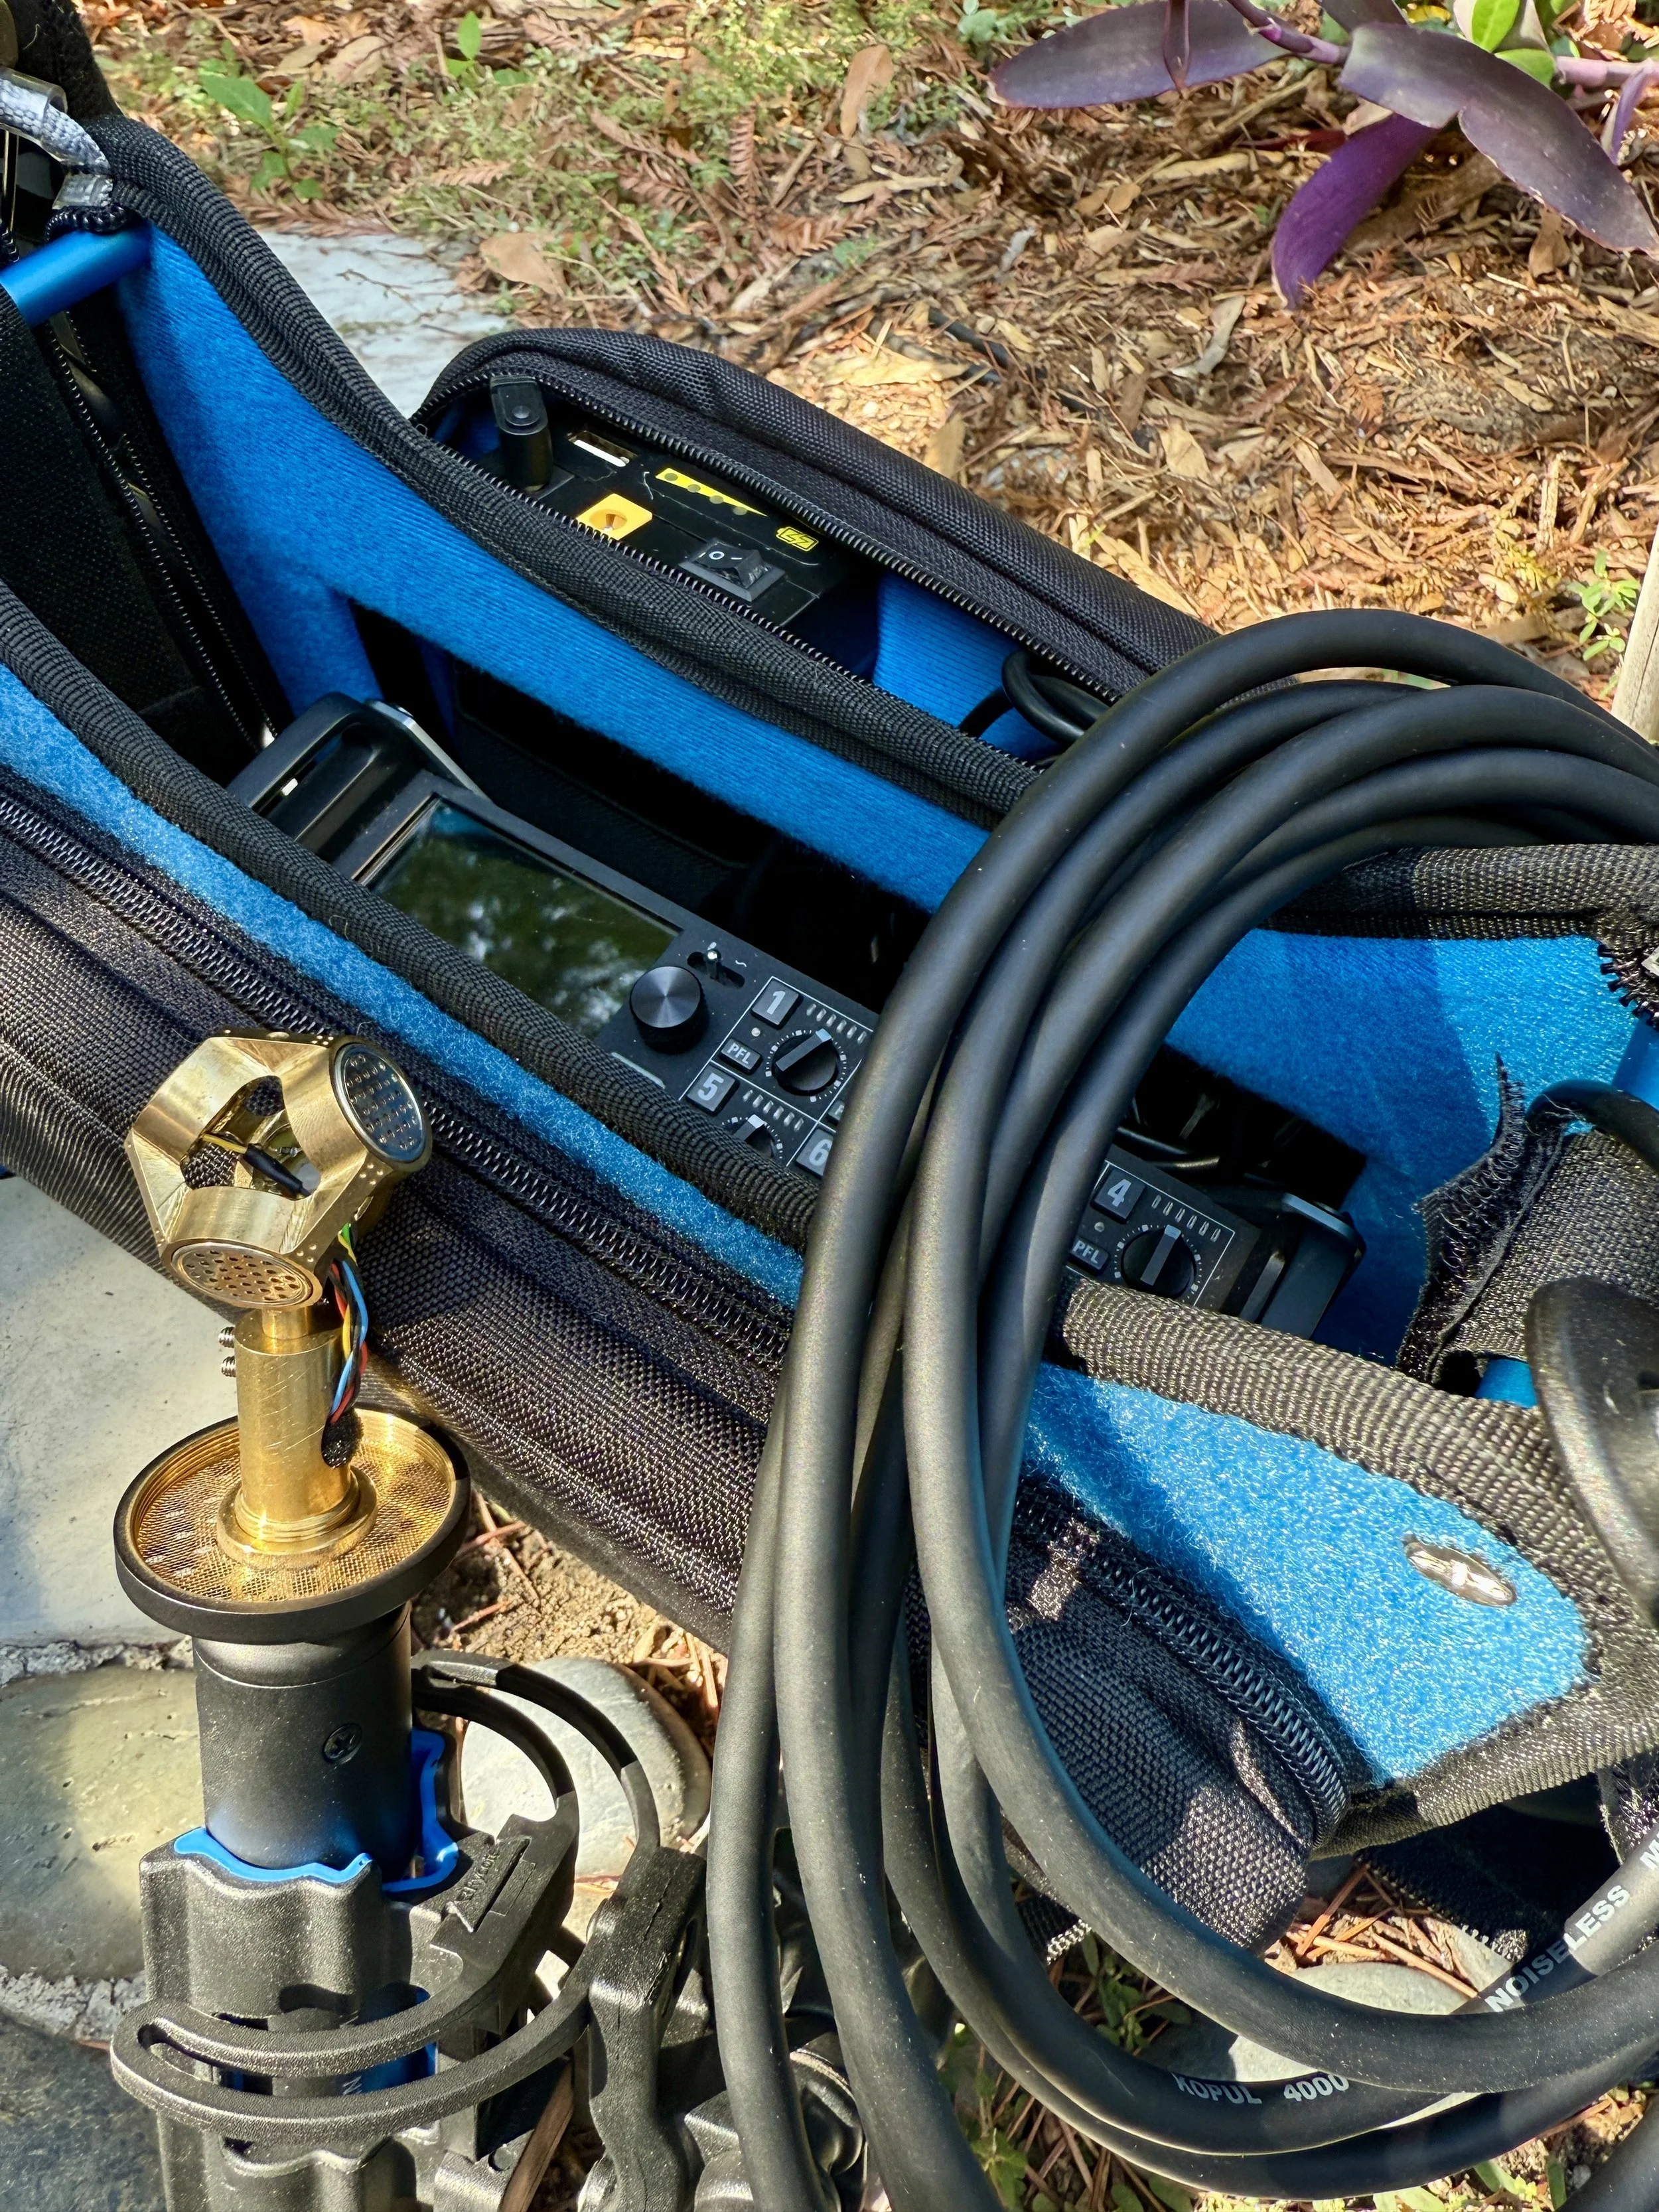
Recording ambisonics is straightforward when using a multi-channel field recorder such as the Zoom F8n-Pro Multitrack Field Recorder:
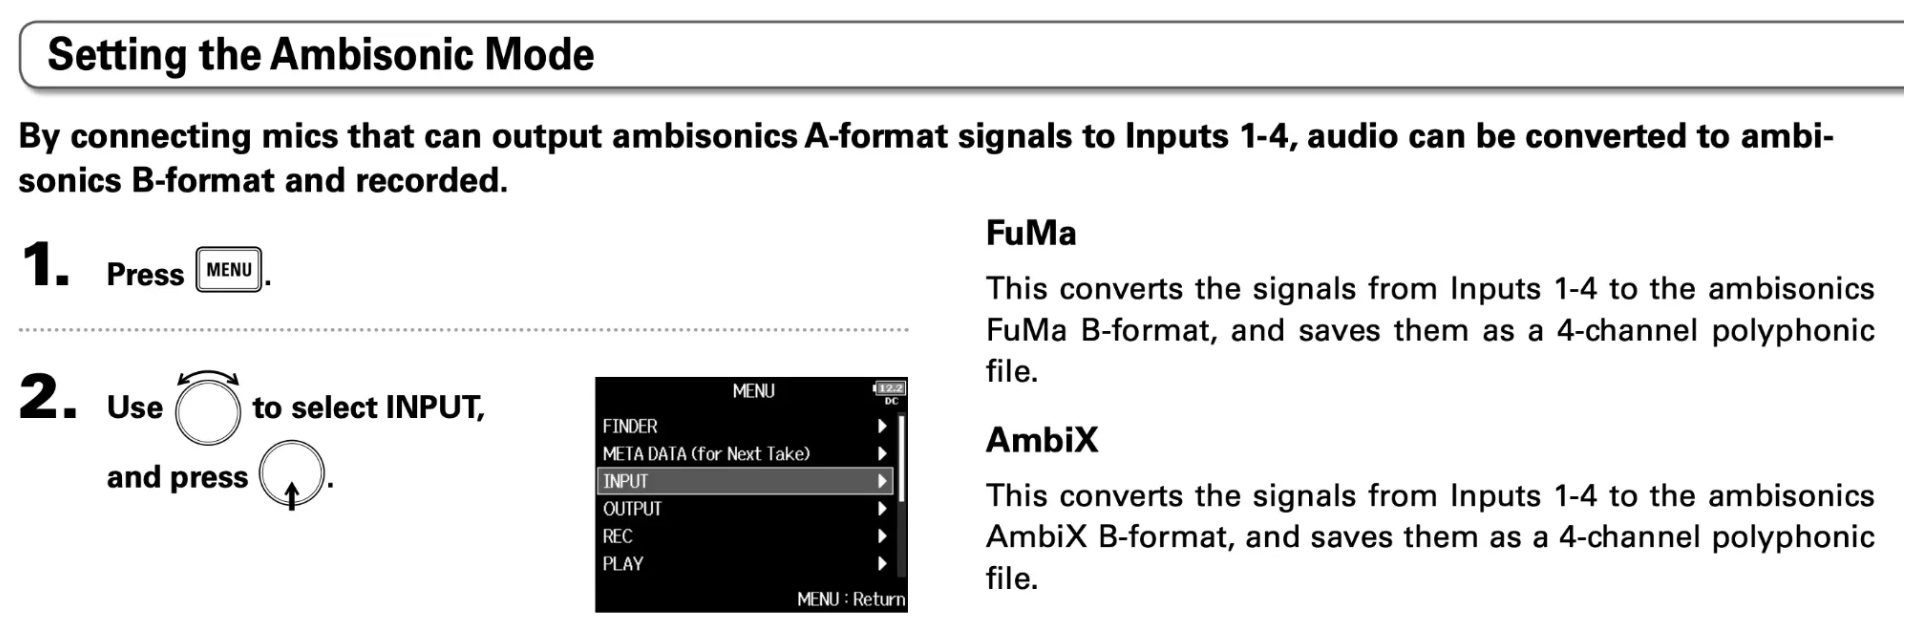
For game development, we’ve done quite a bit of field recording, capturing everything from vehicle traffic to beaches, wind events, forest and other nature ambiences using first order ambisonics. Implementation is straightforward and supported by audio middleware Wwise.
PART 1: WWISE NOTES FOR IMPLEMENTING AMBISONICS
https://www.audiokinetic.com/en/products/ambisonics-in-wwise/
After importing an ambisonic file, set Output Bus, configure and send file to that bus:
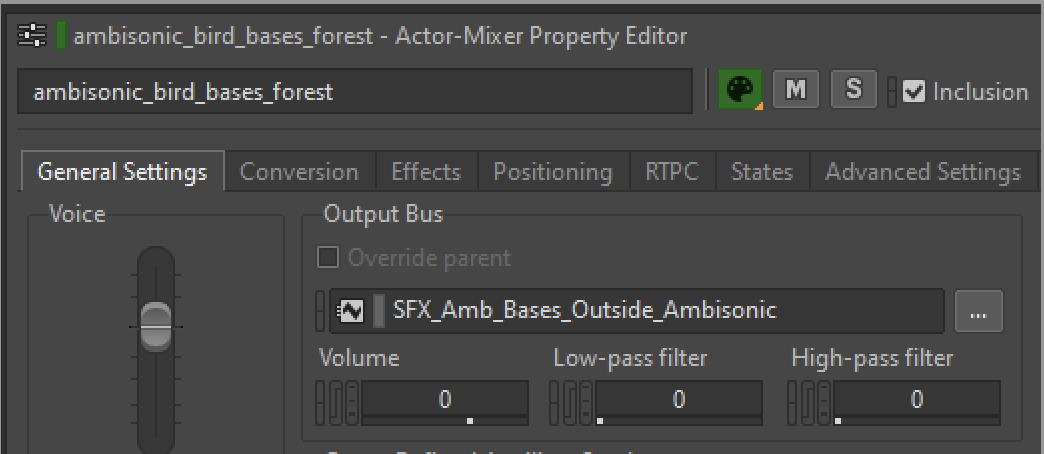
filename we imported: ambisonic_bird_bases_forest
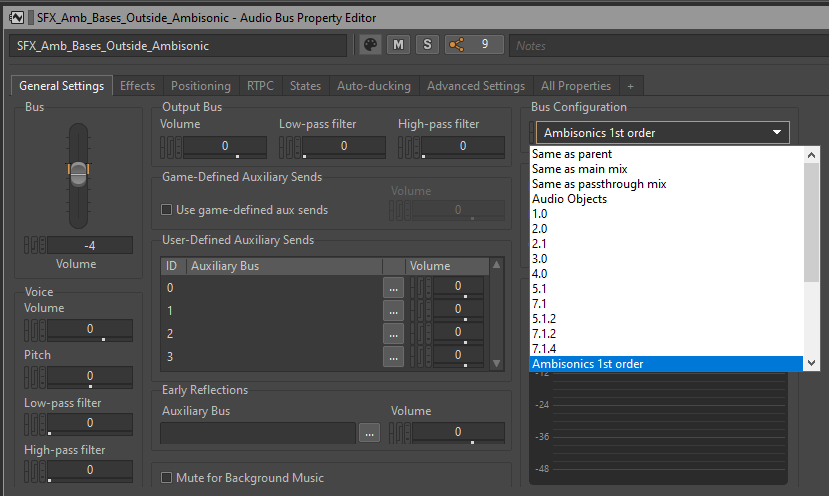
Configure Bus to Ambisonics 1st order
Set Positioning for 3D Spatialization:
In Positioning tab, enable Listener Relative Routing
set 3D spatialization mode to Position + Orientation
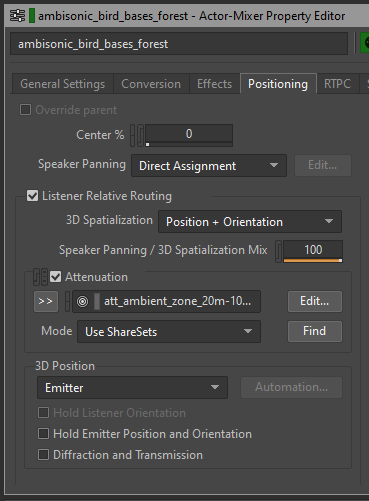
positioning
Now, set attenuation to force the ambisonic layer to rotate around you while keeping audio width as defined by attenuation file:
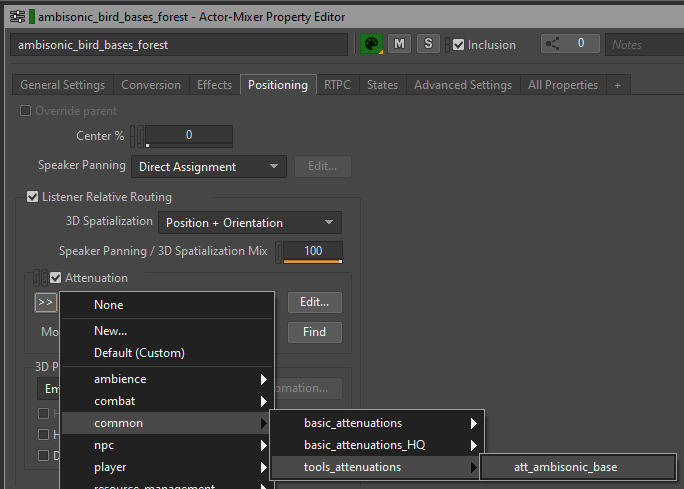
See article: Visualizing Ambisonics with the 3D Meter for visualizing the directional information in an ambisonics bus:
Perhaps beyond the scope of this document, we've used AudioKinetic's AkAmbient Component for Game Integration
Part II: CREATING AMBISONIC MIXES IN REAPER FOR IMMERSIVE LINEAR MEDIA
Here's a list of free tools you can use to get started for processing spatialized mixes:
https://www.blueripplesound.com/o3a_core
https://rode.com/en-us/apps/soundfield-by-rode
For monitoring your production, place a binaural decoder at the end of your master bus chain. There are a number of options but we found BinauralDecoder to be easy to use and effective.
BinauralDecoder automatically decodes the master signal to Stereo Binaural and lets you choose a headphone equalization for the most common studio headphones.
You will turn this off when rendering your final output as the audio will later be decoded by whatever platform you are using to present your audio:Free plugin for testing spatialization and more within your DAWFree plugin for testing spatialization and more within your DAW
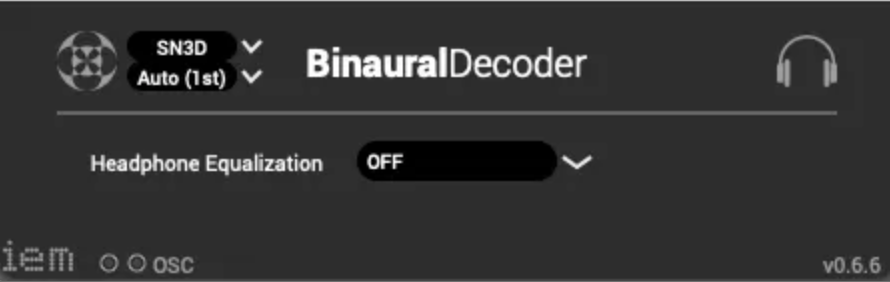
Free IEM plugin BinauralDecoder
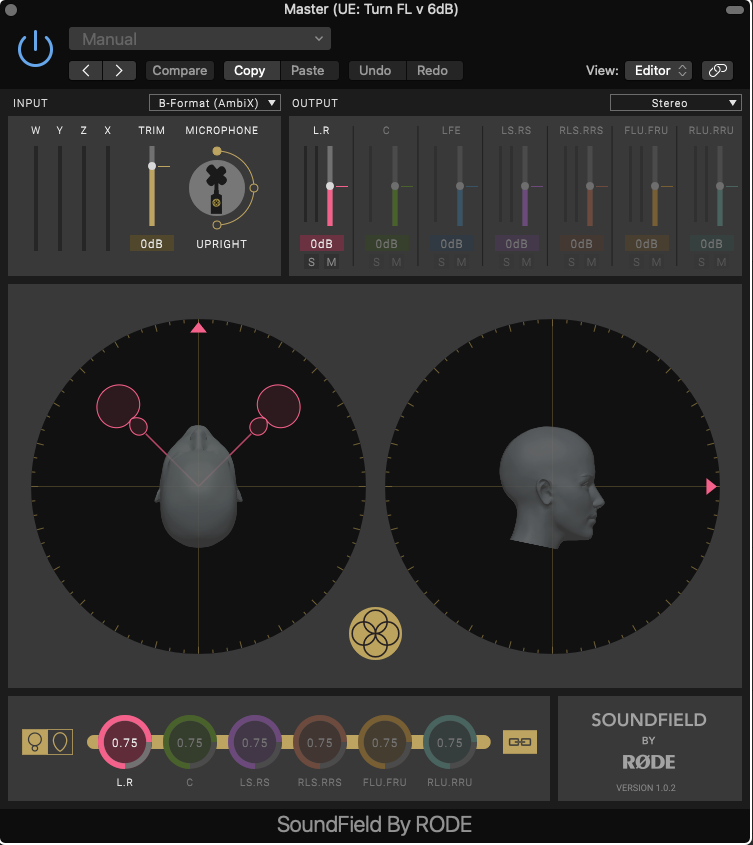
Free RODE plugin that you can set on your master for testing spatialization in your DAW
WORKING IN REAPER
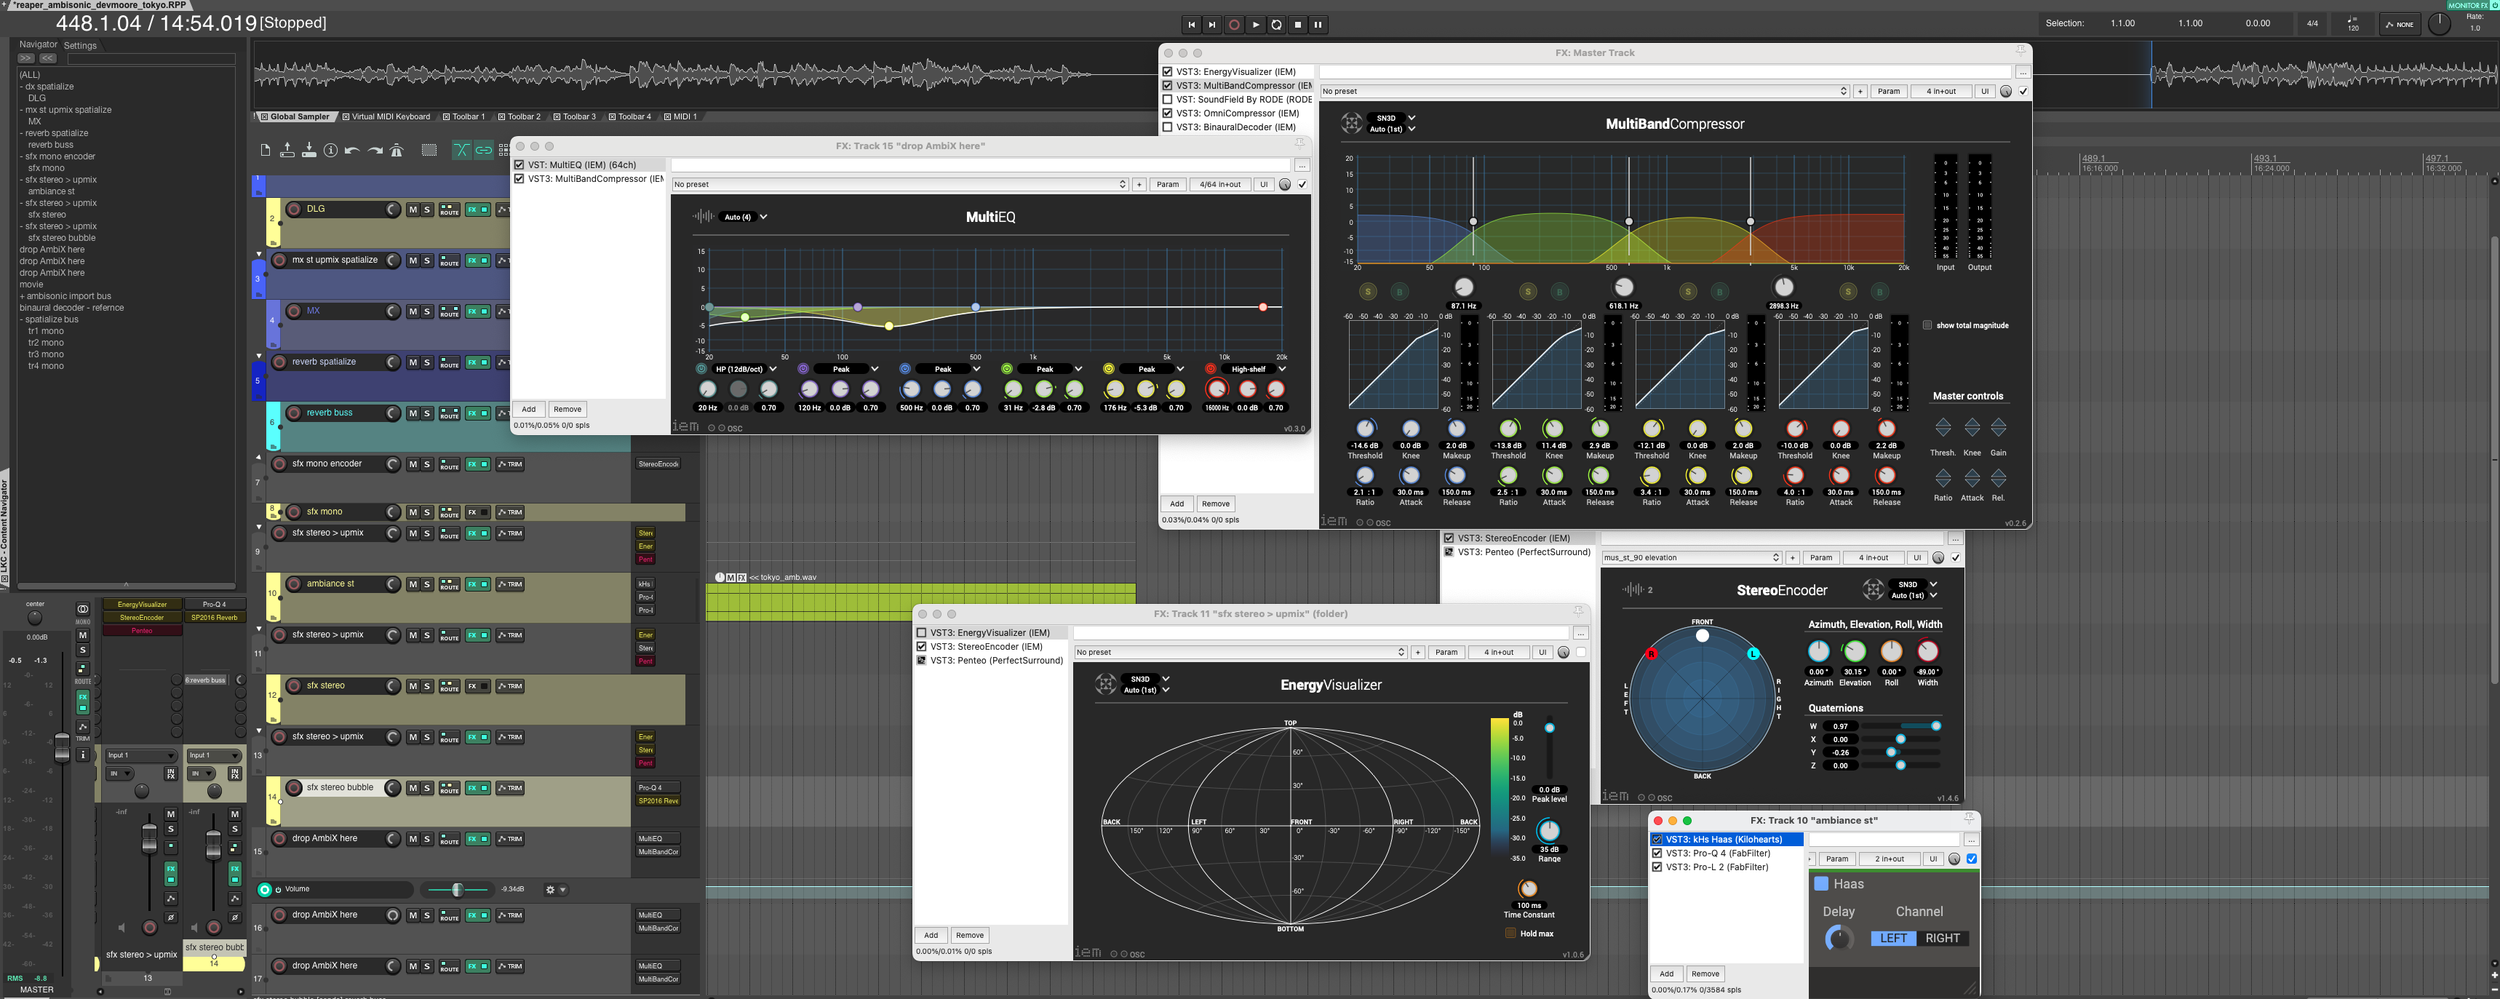
One of the main requirements is that every non-spatialized track (mono and stereo tracks) must be nested under a folder track that is spatialized. This allows you to use any processing tools normally used for a stereo mix.
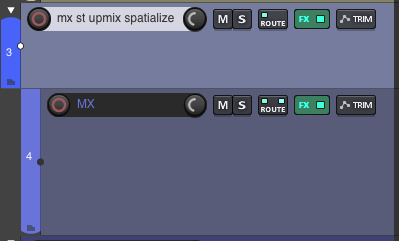
MX is a stereo music track with plugins and effects that are typically used on stereo mixes
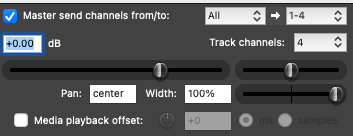
routing for spatialized folder tracks
In your session, you can use mono, stereo and ambisonic files, mix them, move panning around, then spatialize and output for spatial audio.
UPMIXING STEREO FILES TO AMBISONICS
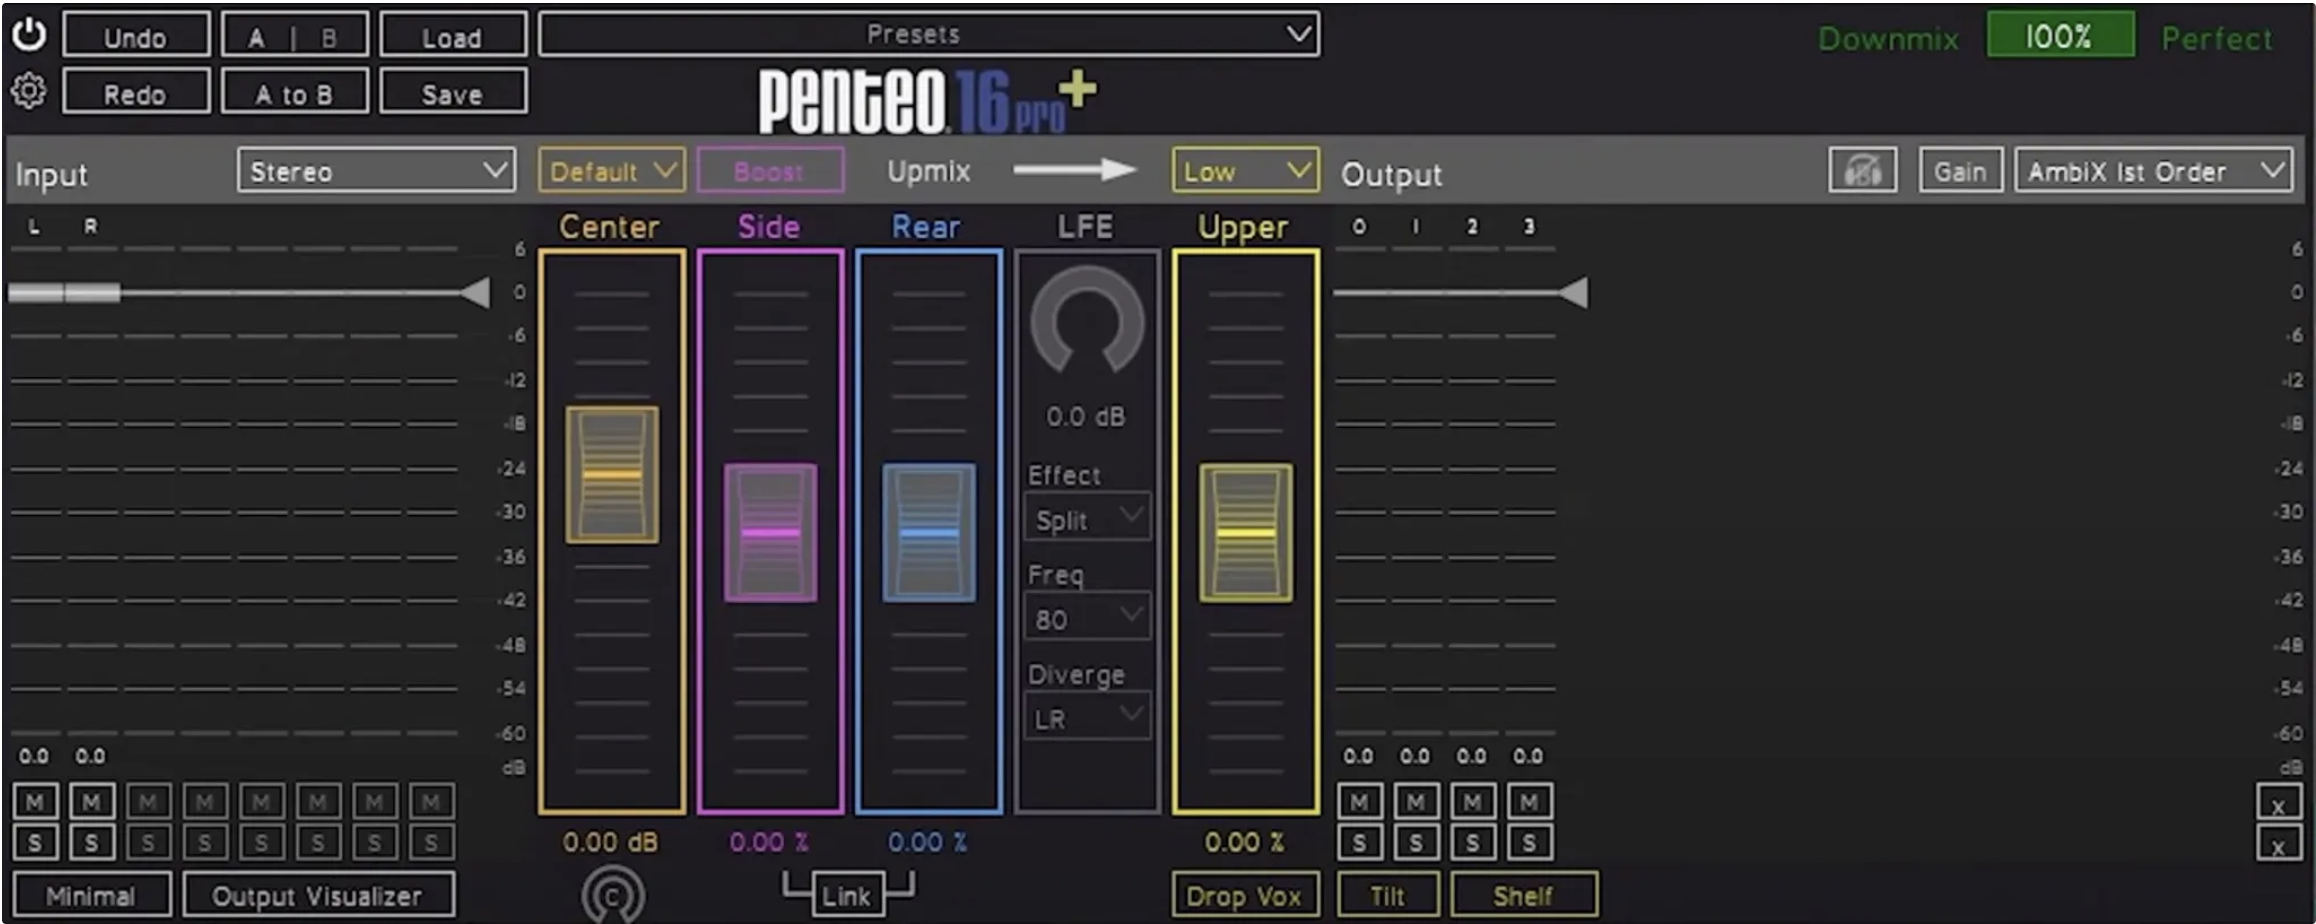
Penteo takes stereo files and upmixes to AmbiX format
Alternatively, use StereoEncoder plugin for a mono or stereo file that can be placed in ambisonic space.
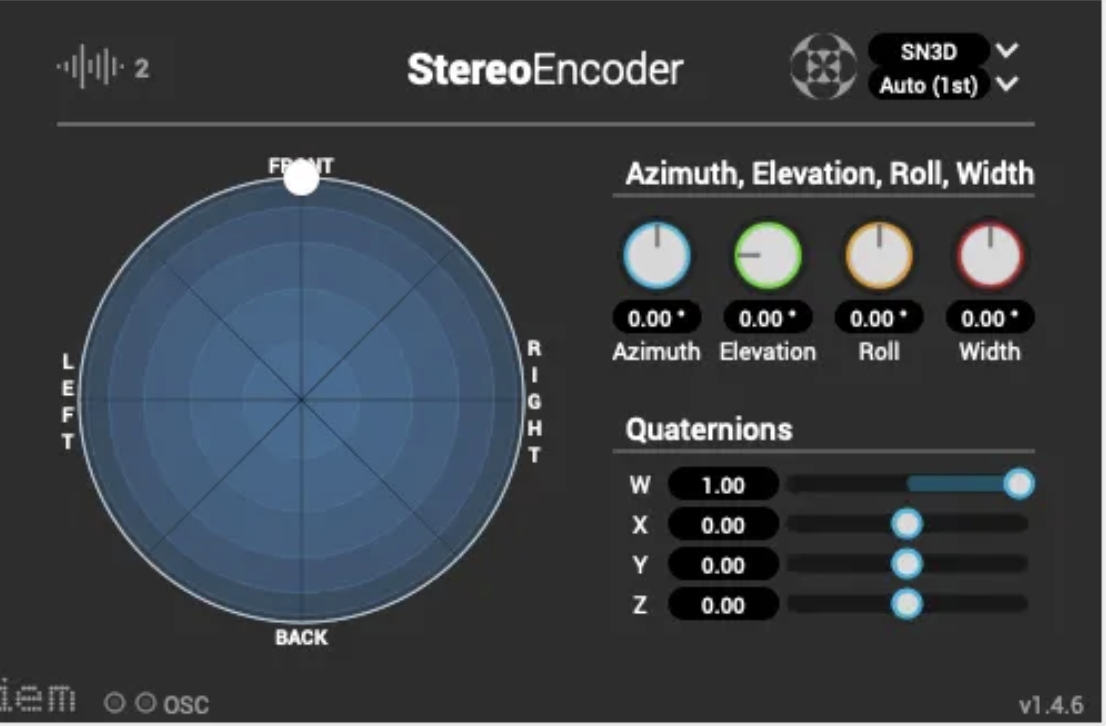
IEMs StereoEncoder allows for placing or automating location in 360 degree field
Roll: rotates around axis (spinning)
Elevation: above / below you
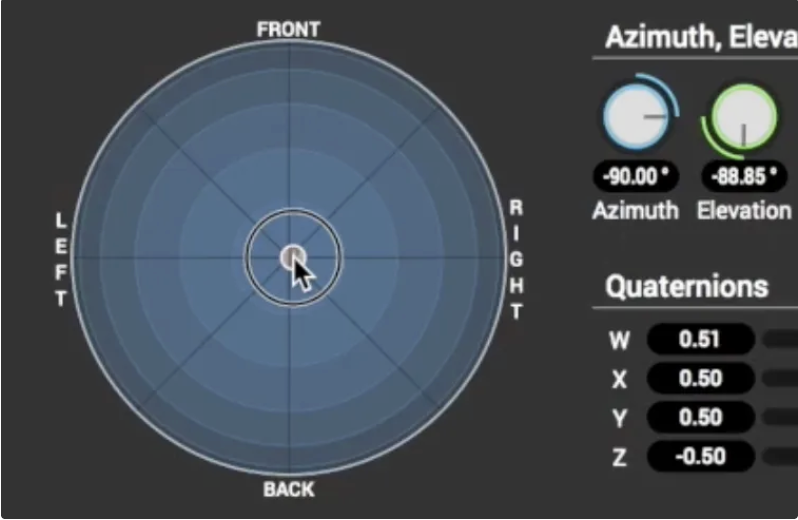
Placement in the center allows you to set elevation so a sound can come from above or below the listener
REAPER: MASTER OUTPUT AND RENDERING
RENDER: Goal is to render 4-channel AmbiX mix (suggested settings):
Required: disable BinauralDecoder
Sample rate: 48000
Channels: 4
Format: WAV
WAV bit depth: 16 bit PCM
Dither
Noise shape
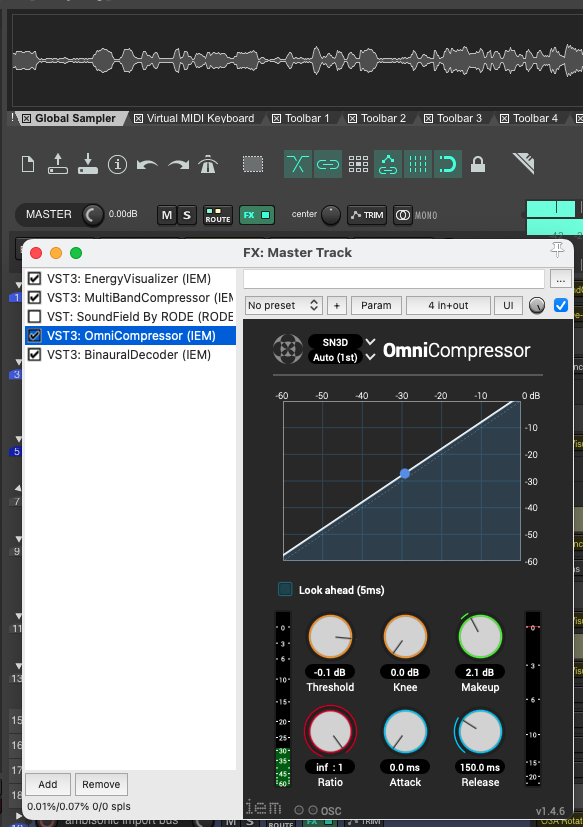
OmniCompressor used at Limiter